
In this guide
Lighting is one of the biggest reasons one pencil portrait looks professional while another looks flat. A pencil sketch has no color to rescue the image. It relies on light, shadow, edges, and expression. If the original portrait has good lighting, the final sketch usually has better depth.
You do not need studio equipment. You only need to understand how light shapes a face before uploading the photo to PencilArt.app.
Use Window Light for Soft Portraits
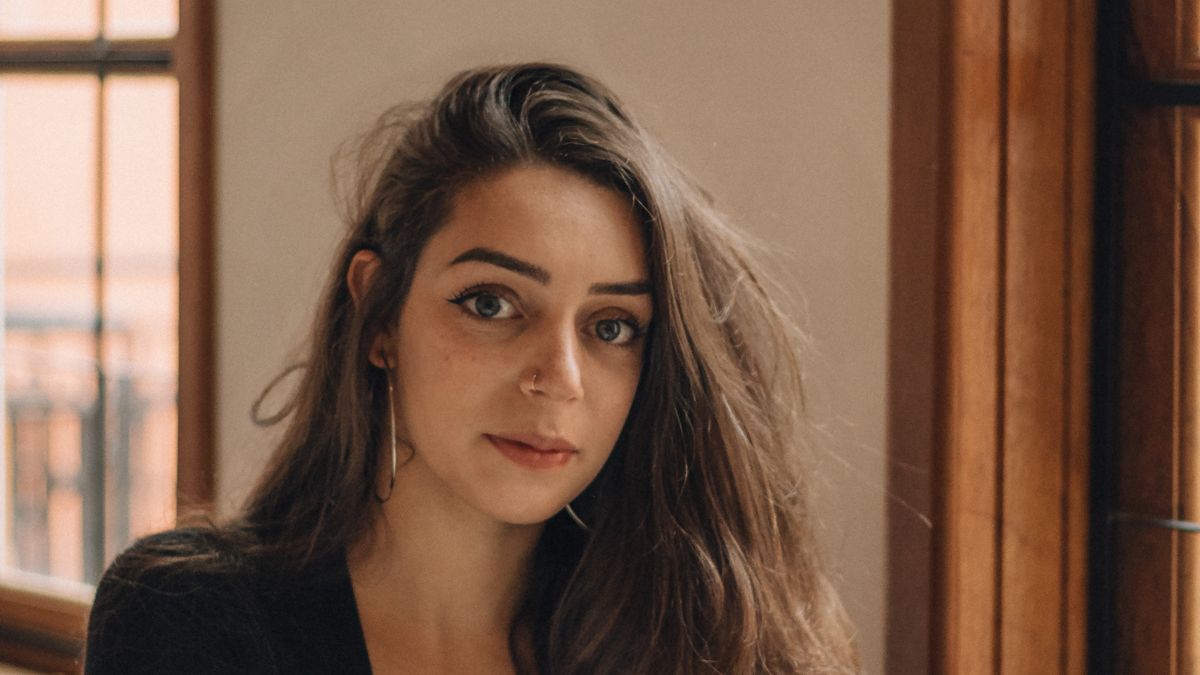
Window light is one of the easiest ways to create a good portrait. Place the person near a window and turn off harsh overhead lights. The window creates soft direction, which helps the sketch capture cheekbones, nose shape, eyes, and jawline.
Ask the subject to turn slightly toward the window rather than facing it directly. This creates gentle shadows that look natural in graphite.
Avoid Direct Midday Sun
Direct sun can create squinting, bright highlights, and hard shadows under the nose and chin. In a pencil sketch, these harsh areas can look too severe.
If you are outside, move into open shade. Shade keeps the face evenly lit while still giving enough detail for the sketch.
Keep the Eyes Clear
Eyes are the center of most portraits. If the eyes are dark, hidden by glare, or out of focus, the sketch may lose personality.
For people who wear glasses, tilt the face or camera slightly to reduce reflections. Do not use flash directly on glasses because it can cover the eyes with bright white glare.
Use Side Light for Drama
If you want a more artistic portrait, try side lighting. Place the person so light comes from one side. This creates stronger shadows and a more dramatic pencil drawing.
Side light works especially well for mature faces, musicians, artists, athletes, and black-and-white profile images. It gives the sketch more character.
Avoid Mixed Lighting
Mixed lighting happens when daylight, warm bulbs, and colored lights hit the face at the same time. In color photos, this creates strange tones. In pencil sketches, it can create uneven patches and confusing shadows.
Use one main light source when possible. A single window or one soft lamp is better than several competing lights.
Watch the Background
A bright background behind a dark face can make the subject look underexposed. A cluttered background can also compete with hair and shoulders.
Use a simple wall, curtain, or open space behind the subject. The cleaner the background, the more attention the sketch gives to the face.
Phone Camera Tips
- Tap the face before taking the photo so the camera focuses correctly.
- Lower exposure slightly if the face looks too bright.
- Use portrait mode carefully; too much blur can damage hair edges.
- Clean the lens before shooting.
Best Lighting Setups
- Soft and classic: Face near a window, turned slightly toward the light.
- Dramatic: Light from one side, darker background, strong expression.
- Professional: Even shade outdoors, simple background, sharp eyes.
- Family portrait: Bright room, no flash, everyone facing the same light direction.
Good lighting gives the AI more useful information. Before changing sketch settings, start with a portrait that already has clear eyes, natural shadows, and a simple background.
Published by PencilArt.app. Editorial policy · Report a correction