
In this guide
One family photo is a sunny close-up, another shows someone at a party, and the third includes a large garden. Applying one pencil preset to all three may remove colour differences, but it does not automatically match head size, lighting or composition. A coherent set begins with a shared layout and a separate quality check for every portrait.
Choose one layout rule for the collection
Decide whether the set will use heads and shoulders, waist-up portraits or full figures. Use one frame orientation and one intended picture area. For a head-and-shoulders set, write a simple framing rule such as “eyes near the upper third, similar space above the head, shoulders visible.” This is a starting guide, not a reason to cut off a tall hairstyle or a pet's ears.
If one source is much tighter than the others, choose a looser alternative when available. Adding empty space cannot recover a shoulder that was never photographed. It may be better to make the whole set closer rather than invent missing anatomy in a single image.
Prepare a source-photo worksheet
- Subject and permission: who is shown, and may you edit and display this photograph?
- Usable detail: are the eyes and distinguishing features clear at full size?
- Crop: does the source support the chosen portrait layout?
- Light: where is the brightest area, and do any important features disappear in shadow?
- Output: preset, settings, downloaded pixel dimensions and remaining problems.
Keep original photographs and prepared copies separately. If a photo has a busy background, crop it before generation. If the face is blurred or hidden, select another source rather than expecting a preset to recover a faithful likeness. The source-photo guide explains what to inspect.
Make a reference portrait first
Choose a clear source with a moderate amount of contrast. Generate a result in the technique you want for the collection, then check it against the photograph. Record its crop, settings and intended print size. This becomes a visual reference for the other outputs, rather than an automatic template that every source must obey.
Compare the next portrait beside it at the same displayed size. Look at how large the head appears, how dark the hair is relative to the face and how much attention the background receives. Similar frames cannot compensate for one portrait being tiny and another filling the entire opening.
Worked example: three different family photographs
Photo A is a window-lit close-up, B is a waist-up outdoor photograph and C is a dark indoor snapshot. Crop B to a head-and-shoulders view that resembles A without cutting through the chin. Check C's eyes at full size; if the indoor shot is too blurred, replace it before spending time matching the set.
Start with the same Realistic Pencil technique. If B's background dominates, revise its source crop. If C's dark shirt merges with the hair, try lower intensity while retaining the chosen technique. Record each adjustment. Matching the visible balance may require different intensity settings; identical numbers alone are not evidence of a consistent result.
Check likeness before matching tone
Compare each output with its own source. Inspect the spacing of the eyes, mouth shape, hairline, distinctive markings and any visible hands. Do this before adding contrast to match another portrait. A changed expression is a reason to reconsider that output, even when it fits the collection's overall appearance.
Next, view the whole set as small thumbnails. Are the subjects equally prominent? Does one background overpower the others? Make one correction at a time and keep earlier versions, so you can undo an adjustment that made the set less balanced.
Stop when the set meets the purpose
Use three stopping rules: every subject remains recognisable, framing feels consistent, and each file supports the intended print area. Check dimensions individually in the print planner; the smallest usable file can limit a shared print size. Print small proofs together before ordering the full set.
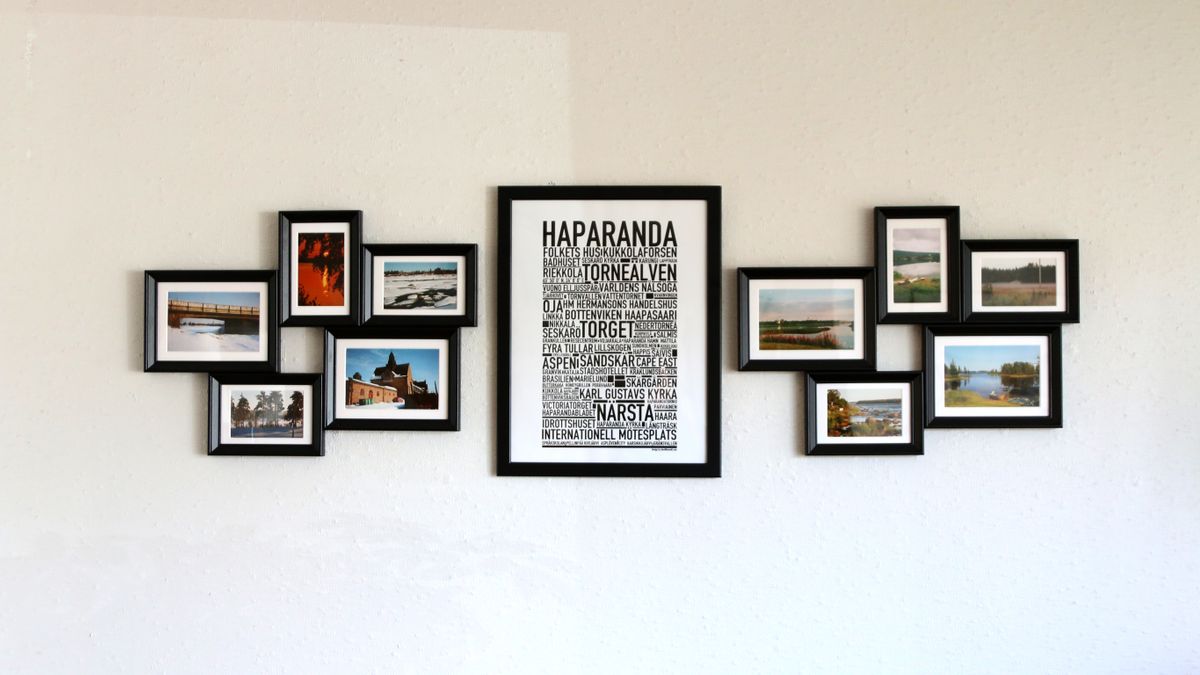
Matching portraits do not need identical shadows or erased personality. Keep differences in expression and pose when they belong to the subjects. Unify the presentation around them, then use the wall art guide to plan the frames and spacing.
Published by PencilArt.app. Editorial policy · Report a correction